Manage Emergency Contacts
Set up the phone numbers that Deep Sentinel guards will call during security events at your Seattle property. Keep these current for effective emergency response.
Why Emergency Contacts Matter
When Deep Sentinel guards detect suspicious activity at your property, they follow a specific protocol:
- Guards attempt to verify the situation via two-way audio
- If verification fails, they call your emergency contacts in order
- If contacts can't be reached, guards may dispatch law enforcement
Important: Outdated emergency contacts can lead to unnecessary police dispatches or delayed response during real emergencies. Review your contacts regularly.
Navigate to Emergency Contacts
To view or update your emergency contacts:
- Open the Deep Sentinel app
- Tap Settings (bottom right)
- Tap Account
- Tap Emergency Contact
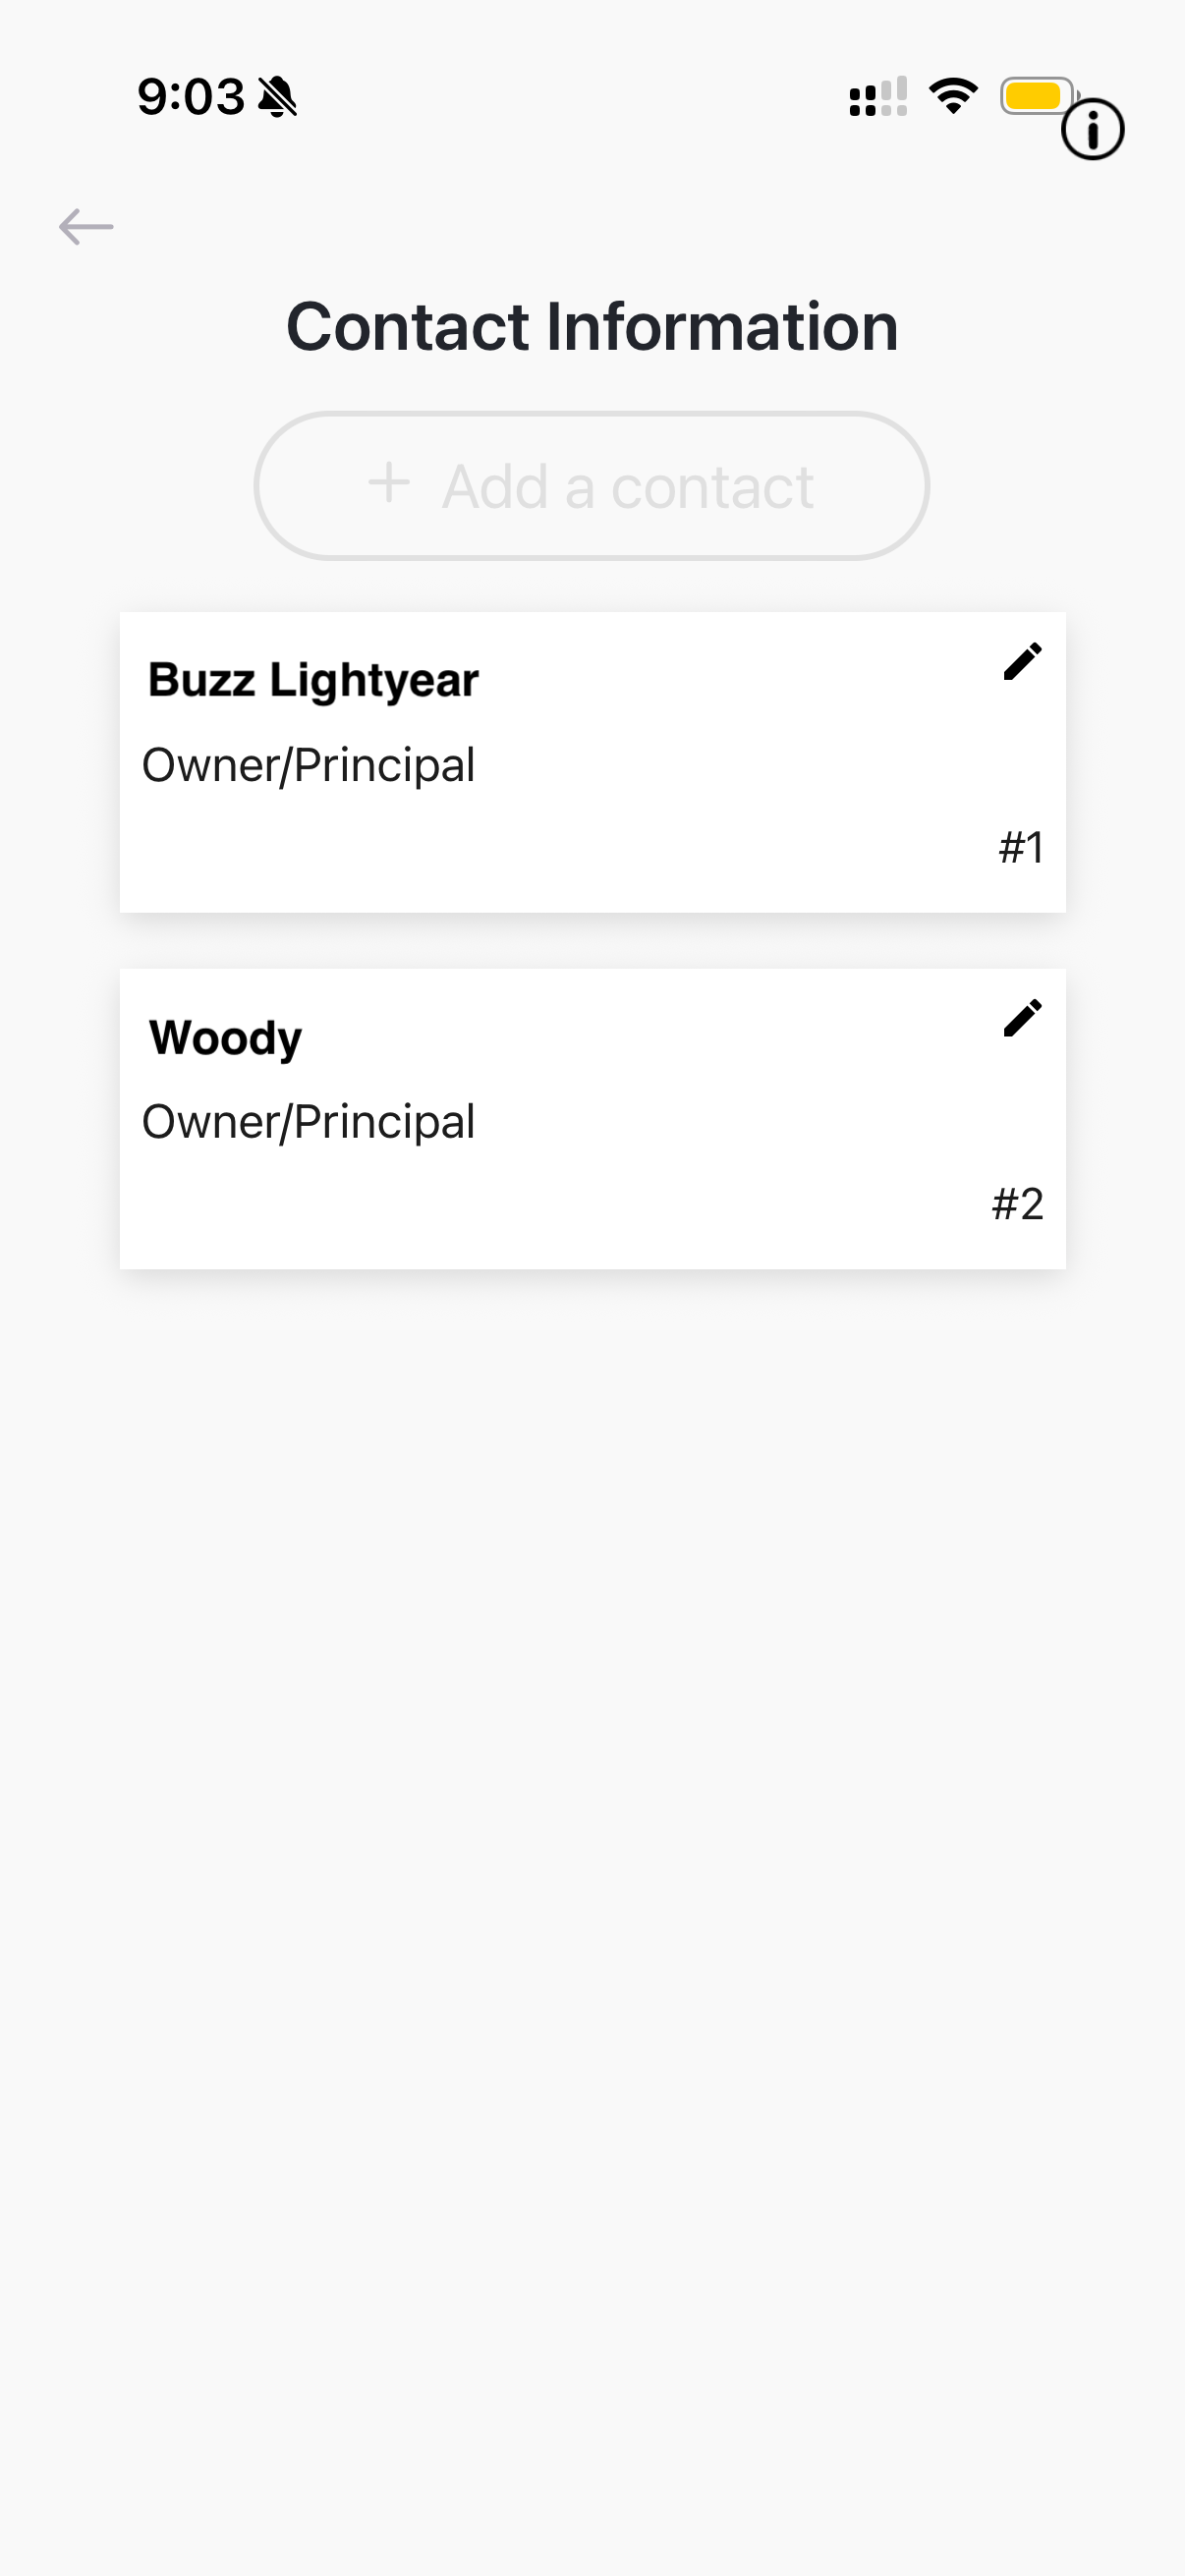
Understanding Contact Priority
Contacts are called in order of priority (#1 first, then #2, etc.). Consider this when setting up your list:
- Contact #1: Should be the person most likely to answer and most able to respond (owner, manager)
- Contact #2: Backup contact if #1 doesn't answer (co-owner, assistant manager)
- Additional contacts: Other people who can verify or respond to situations
Tip: For Seattle businesses, consider adding an on-site manager as Contact #1 and the business owner as Contact #2.
Add a New Contact
To add a new emergency contact:
- Tap + Add a contact
- Enter the contact's full name
- Enter their phone number (must be able to receive calls)
- Select their role (Owner/Principal, Manager, Employee, etc.)
- Tap Save
The new contact will be added to the bottom of the list. You can reorder contacts by editing their priority numbers.
Edit or Remove Contacts
To modify an existing contact:
- Tap the pencil icon next to the contact's name
- Update their information as needed
- To remove a contact, scroll down and tap Delete Contact
- Tap Save to confirm changes
Best practice: Review your emergency contacts quarterly or whenever there are staffing changes at your Seattle location. Outdated contacts can compromise your security response.